Create odoo native view
In other post, about create react UI with Odoo, we discussed building a custom UI page for Odoo module. That approach has the advantage of being flexible, though it may feel foreign to the whole Odoo’s experience. Odoo, after all, presents itself as an integrated all-in-one platform. It would be better if our module sits in Odoo’s native view, i.e under the Odoo usual navigation bar.
1. Create action item
Consider a simple entry point to our odoo application, which is a top left corner link.
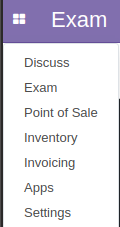
Firstly, we let Odoo knows of the link by inserting a menu item record, and associate it with action action_exam, which in turn is defined in javascript code in the next section.
<!-- define an action, details of which are in javascript src files -->
<record id="action_exam" model="ir.actions.client">
<field name="name">Online Test</field>
<field name="tag">beolla_exam.exam</field>
<field name="res_model">beolla_exam.exam</field>
<field name="params" eval=""{
'default_active_id': 'mailbox_inbox'
}""/>
</record>
<!-- tell Odoo to add a menu item -->
<menuitem
id="beolla_exam.menu_root_discuss"
name="Exam"
action="action_exam"
web_icon="mail,static/description/icon.png"
groups="base.group_user"
sequence="1"/>
2. Create javascript widget object
The above action beolla_exam.exam is defined in javascript source, which extends base AbstractAction and defines view initialization by overriding action hooks:
+init: initialize the action object.
+willStart: called before start, often used to fetch data before rendering. It must return a promise.
+start: is where rendering actually happens.
odoo.define('beolla_exam.Exam', function (require) {
	"use strict";
var core = require('web.core');
var ControlPanelMixin = require('web.ControlPanelMixin');

var Exam = AbstractAction.extend(ControlPanelMixin, {
	template: 'beolla_exam.exam'
	init: function (parent, action, options) {
		// initialize the action object
		// get a hold of dom referrence.
		this._super.apply(this, arguments);
        this.action = action;
        this.action_manager = parent;
	}
	willStart: function () {
		// before rendering
		// often used to fetch data
		// return an empty promise in this case
		return $.when();
	}
	start: function () {
		// render widget
		var el = $('<h1>Hello World</h1>');
        return el.appendTo(this.$('.o_beolla_exam_content'));
	}
});

// register action name to Odoo
core.action_registry.add('beolla_exam.exam', Exam);

});
Of course, for the above javascript to have any effect, it need to be registered first in the common asset bundle
<template id="assets_backend" name="beolla_exam assets" inherit_id="web.assets_backend">
    <xpath expr="." position="inside">
        <script type="text/javascript" src="/beolla_exam/static/src/js/main.js"></script>
        <link rel="stylesheet" type="text/scss" href="/beolla_exam/static/src/scss/main.scss"/>
    </xpath>
</template>
3. Create QWeb template.
The above script refers to a Qweb template named beolla_exam.exam. Unlike the web client’s template, which is inserted to database, QWeb templates like beolla_exam.exam is treated as static files, downloaded to browser at run time. The template in our example is really simple.
<?xml version="1.0" encoding="UTF-8"?>
<templates xml:space="preserve">
    <t t-name="beolla_exam.exam">
        <div class="o_beolla_exam">
            <div class="o_beolla_exam_sidebar"/>
            <div class="o_beolla_exam_content">

            </div>
        </div>
    </t>
</templates>
Don’t forget that Qweb templates need to be declared in __manifest.py__ for Odoo to be aware of it.
	"qweb": [
        "static/src/xml/exam.xml"
    ]
And finally, here is our result:
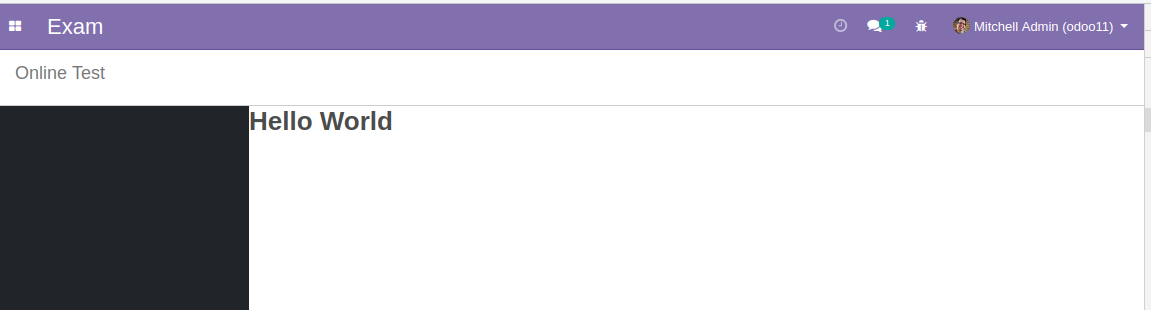
An example module is put together here, though Preact was used instead of React due to smaller file size.